Step by Step Guide to Cleaning Your Car Engine
The surface of the engine is most probably the most forgotten part in a car. A car owner will ensure that the engine is working properly and all the required fluids inside are sufficient. However, the surface will be ignored and will accumulate miles and miles of dirt and dust in addition to the grease and oils, forming an eye sore.
Some people believe that an engine needs to have dirt to work properly; not true! The fact is that a clean engine operates much more efficiently because it cools better, and makes it easy to spot leaks and cracks. Also, if you have a clean engine, there is less probability that dirt and particles will end up in your filters. The resale value is always better when you have a clean engine.
The following steps will guide you on how you can wash your engine at home without compromising its functions.
Step 1: Wrap work
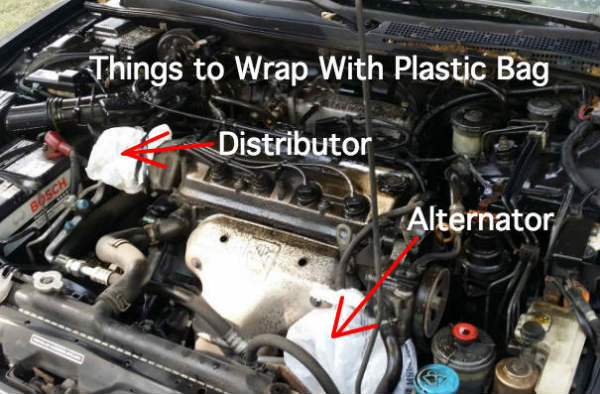
Water and electrical components don’t usually see eye to eye, and so you will need to wrap up all the electrical connections with plastic wrap. You will want to mark your wrappings with something visible so that you don’t forget to remove them later. You will also want to disconnect your negative battery terminal so as to avoid any possibilities of short-circuits because as you know water has the ability to conduct electric current.
Step 2: Removing the dirt and dust
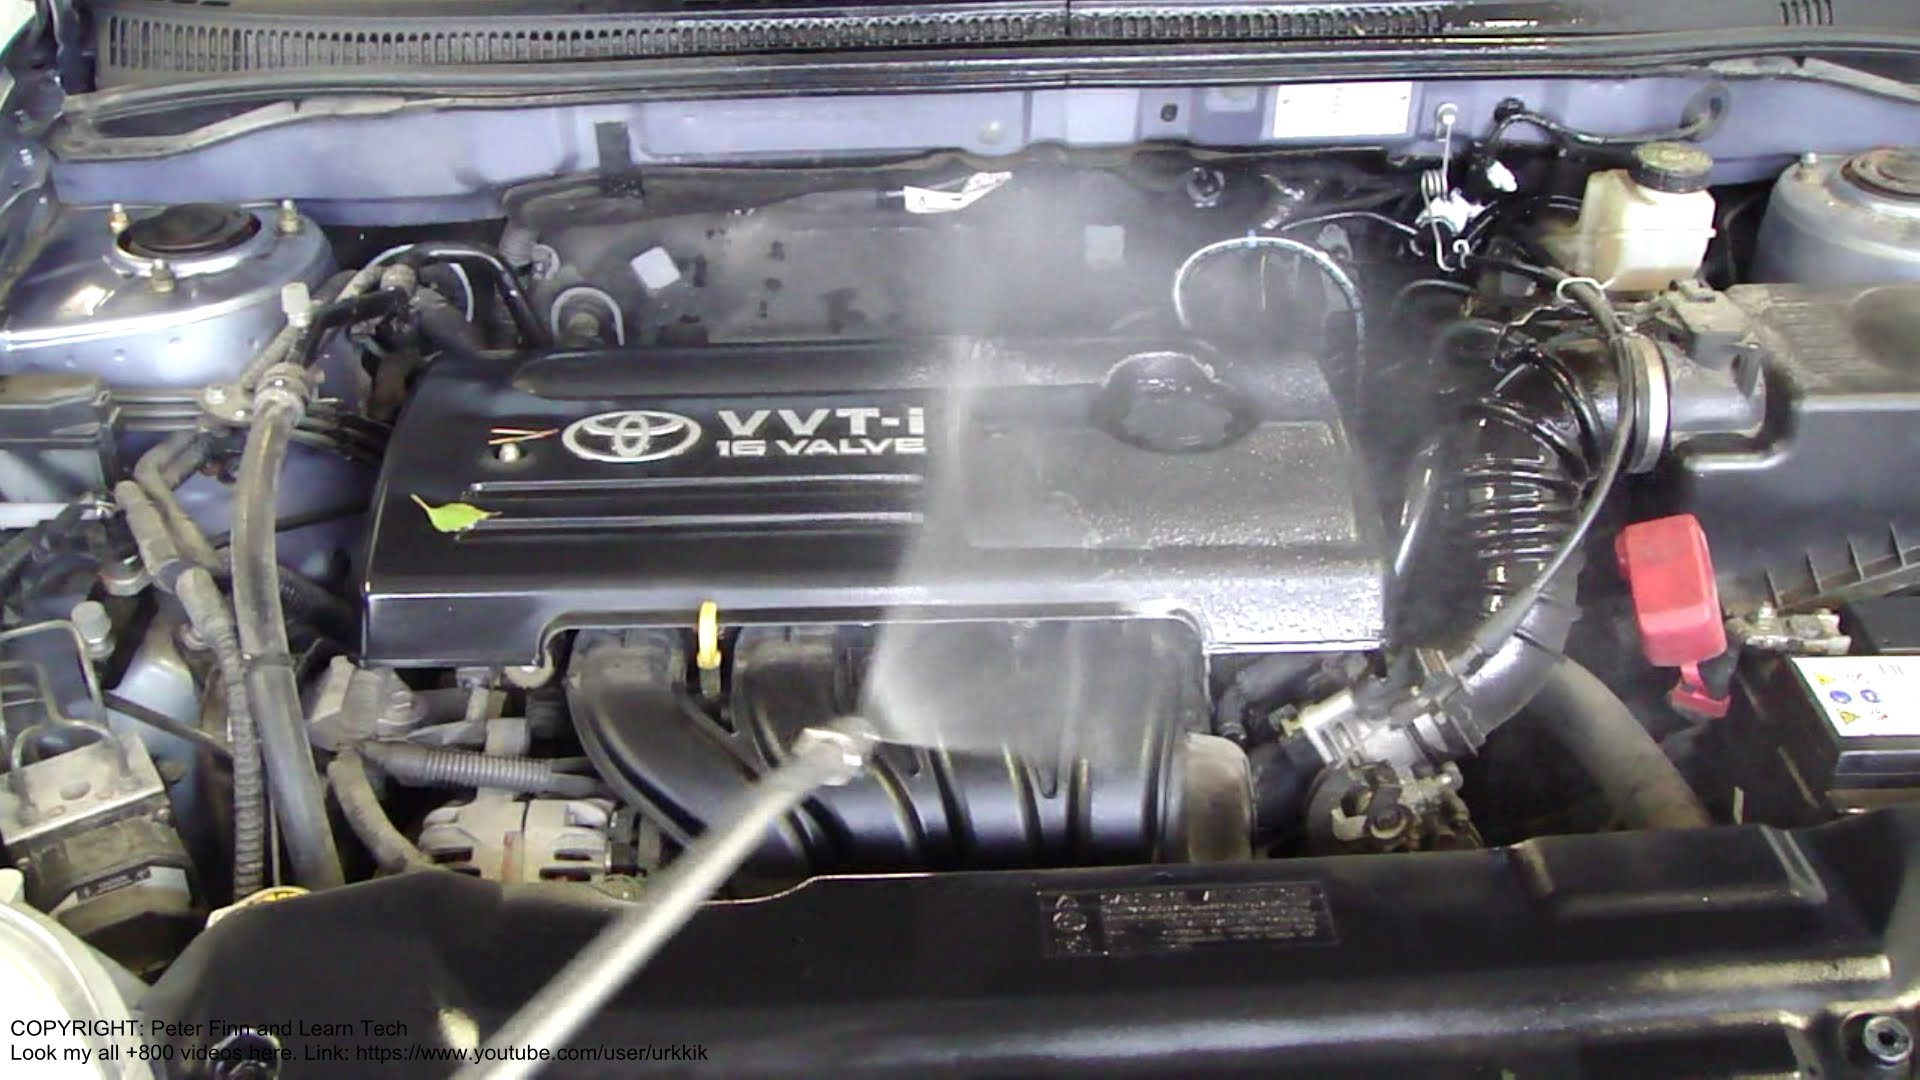
All kind of dirt will accumulate on your engine and around it, and all of them can’t be removed in the same way. The plan is to remove each, step by step. If you are satisfied that your plastic wrap work is sufficient, get a garden hose with a nozzle and hose down the dust, mud or dirt. Don’t use water with a lot of pressure so as to remove the wrappings or force the water to undesired crooks and crannies where it may decide not to come out easily.
Step 3: Removing the grease layers
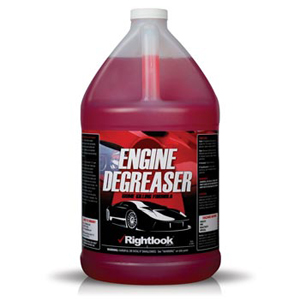
Water probably didn’t remove the grease, and a different approach is required to remove these stubborn stains. The answer is a degreasing product. You will have to choose between a solvent or water based degreaser. The former seems to work better and cut through thick layers of grease easily. Their drawback, however, is that they have quite a strong smell. Choosing a degreaser with a gel or foam formula will also help on the vertical parts of the engine.
If you have your degreaser ready, dilute it as directed on its label and let us get spraying. Spray the engine bay properly, taking extra care to ensure that the spray doesn’t get to the painted areas. Use a nylon brush to scrub stubborn areas such as around the valve cover while an aluminum brush is more suitable for the metallic parts such as the heat shield. Make sure your degreaser doesn’t dry out on the engine.
Step 4: Rinse it all down
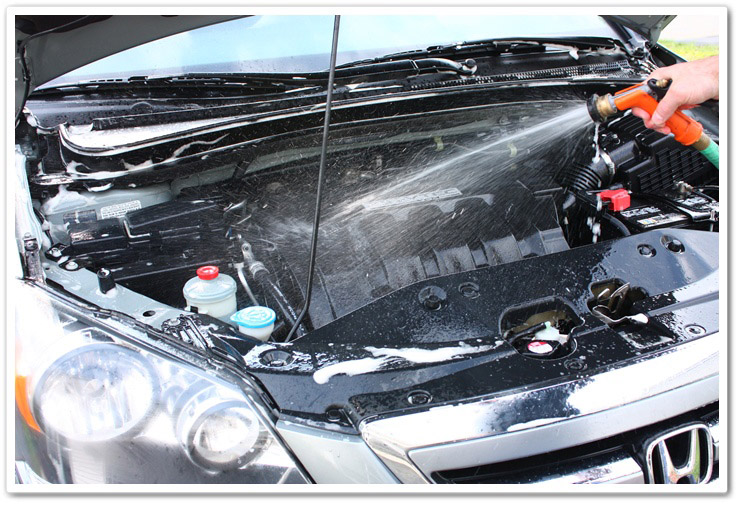
Before you rinse down the degreaser, you may want to get disposable mats and place them beneath the engine under the car. This is because degreasers are chemicals and impact the environment negatively. After you place your mats, rinse off the degreaser with your hose, with the degreaser carrying water settling on the mats. Remove all the degreaser.
Step 5: Let it dry out
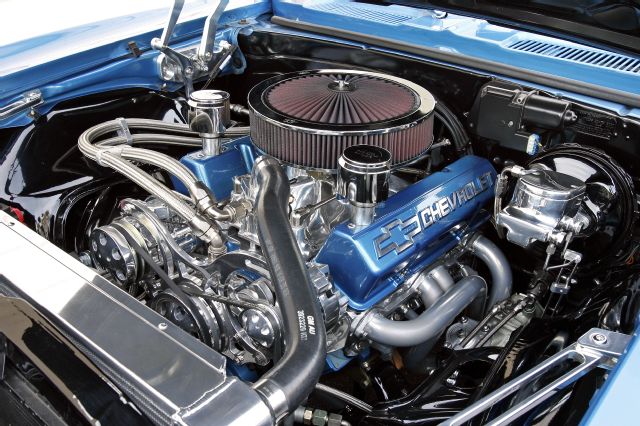
Let your engine bay air dry and while this goes on, get the mats to sun dry all the water. What is left on the mat is the degreaser; so you can dispose of them appropriately. On the engine bay, wipe off any excess water and dirt and apply a light dressing on all rubber components after you remove the wrappings. Reinstall the negative battery terminal. You can finish off by applying an engine protectant on your now dry engine, leaving it looking shiny.

