How do you change your own reverse sensor?
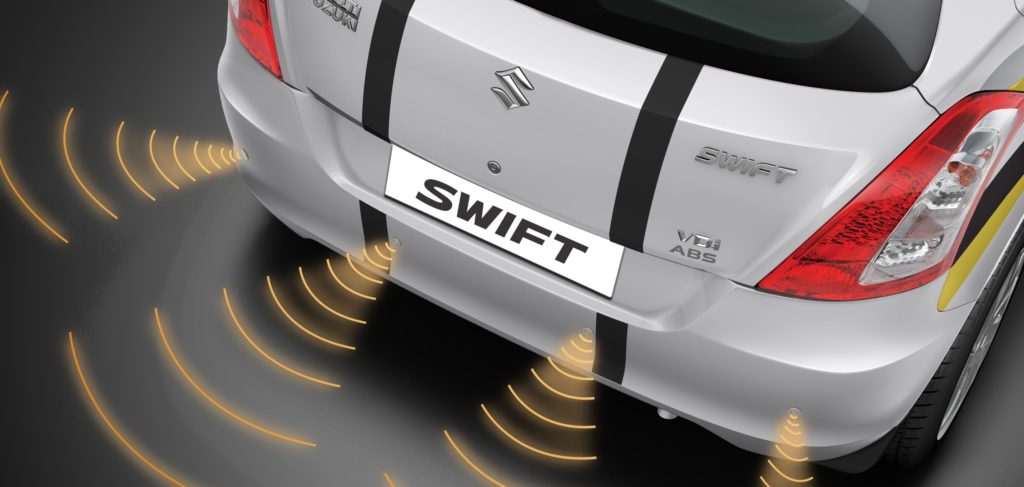
Available since the early ’90s, parking sensors are today a piece of standard equipment on almost all new vehicles. It is a relatively simple but very effective and practical addition to the car which helps to park the car properly and avoid damaging your vehicle as well as other cars parked nearby. It doesn’t matter whether you are a skilled driver or a novice, parking sensors are always useful and give you a valuable piece of mind. Today, you can have parking sensors mounted not only in the rear, but in the front as well, and coupled with rear parking camera, anybody can park a car with precision. However, what to do when your parking sensor is broken and how to replace it? Follow these simple tips and do it yourself.
1. Determine which one is broken
Very rarely all parking sensors break down at the same time. If that happens, the problem is likely to be electronics of fuses, not the parking sensors themselves. It is easy to determine which one is broken and you need one friend to be in the car and put it in reverse, step on the brake or press the clutch pedal (if you have manual transmission). Then you put your hand on each of the sensors and the one that dosesn’t give any sound is broken and should be replaced.
2. Buy the proper parking sensor
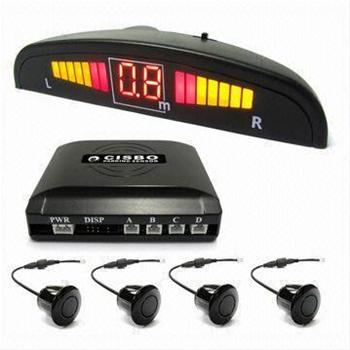
There are various different shapes, types, and sizes of parking sensors available. Be sure to get the right one for your car and to have it in right color. If you can, always look for original parts recommended and sold by dealerships and specialized shops. However, you can always buy the aftermarket item which is cheaper, but less reliable than the original part.
3. Look underneath the car
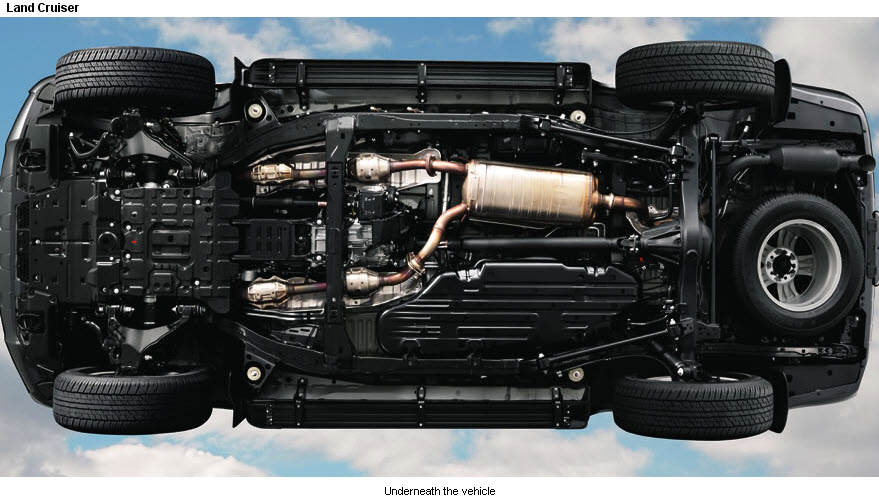
It is important to examine the location of the sensor behind the bumper and see how is it connected. This is important since parking sensors on some cars can be replaced without removing the bumper. If this is the case, look underneath the car and make sure that you can approach the wires and the sensor behind the bumper and remove it without any problems.
4. Remove the bumper if needed
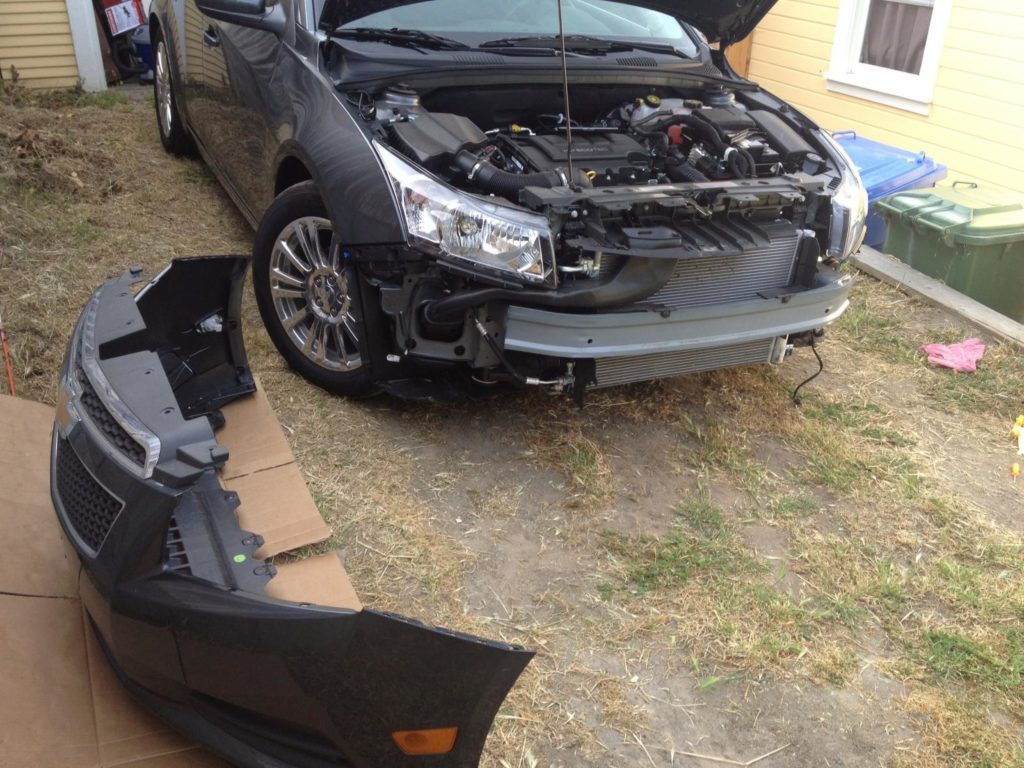
If you need to remove the bumper to get to the wires and the sensor, it will make the job longer, of course, but it shouldn’t be a problem. Most modern cars have front or rear bumpers made of plastic and they are easily removable with a screwdriver. If the bumper is connected by plastic clamps, just be patient and gentle and you can remove it in a matter of minutes.
5. Disconnect the faulty sensor
The sensor is connected with wire and in most cases, there is a plastic connector between them. You only need to disconnect the sensor, remove it from the bumper and replace it with the new one. If you have bought the right one, the new sensor should fit right into the place and the whole process should not take more than a couple of minutes.

6. Test the sensor
Before you put everything back together, we advise you to test the replacement sensor the same way you have tested it before. This way you will make sure that everything is in perfect working order, and you will have a chance to sort out small details before you assemble the car back together.

