5 Photos to ALWAYS Take During a Car Accident
Getting into a car collision can be a very stressful matter. Drivers involved would be pressured to settle the matter as quickly as possible so as not to affect the traffic for long periods of time. This makes taking photos of the accident scenes extremely crucial. So what photos should you take? Which photos will be useful? Taking photos of the accident scene may seem like an easy feat, but do not take it for granted. The photos may determine who takes responsibility for the accident and eventually, who is going to foot the repair bill. Let us share with you the 5 vital photos to take in a car accident.
5 must take photos in a car accident: What and how do you snap it?
Ensure you take photos of the scene with the front and back of your car in view. Keep the involved vehicles and any form of traffic signs in view. These elements will be essential evidence to establish what happened during the car accident.
Photo #1: The view of the accident scene (front)
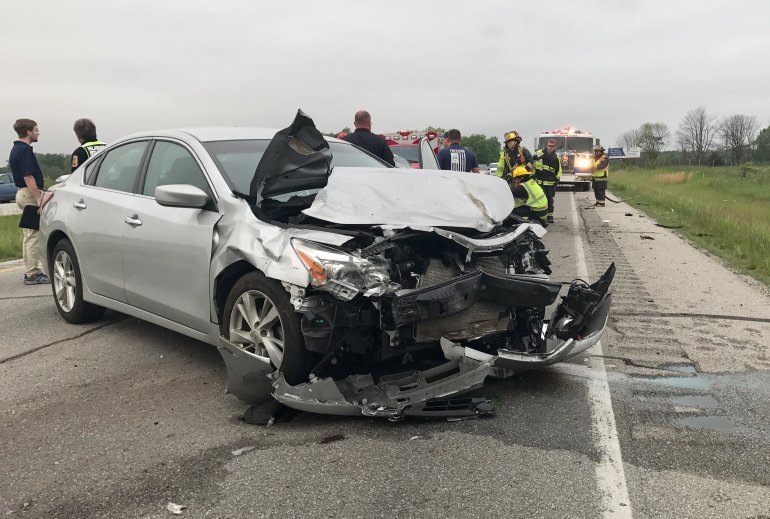
Photo #2: The view of the accident scene (back)
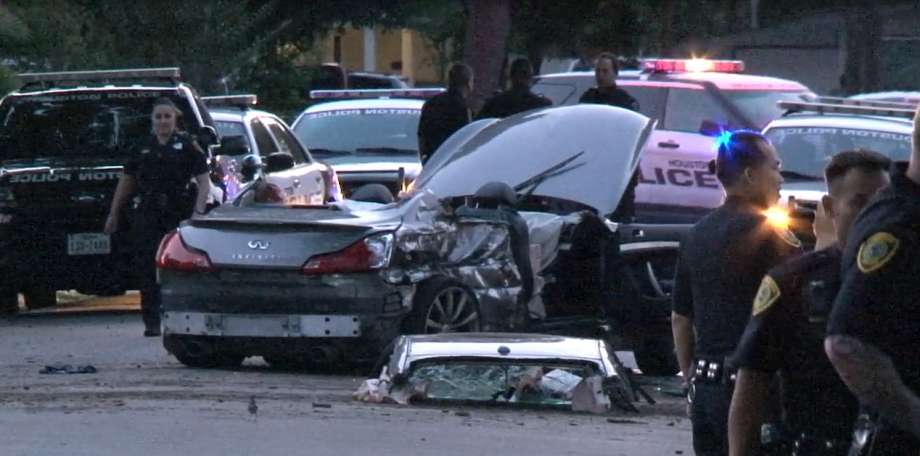
Photos #3 & #4 : The epicenter photos (Left & Right, 2 photos)
Take photos of the epicenter of the collision, preferably with the left and right views of the car. Ensure that the positions of the involved cars are clearly in view.
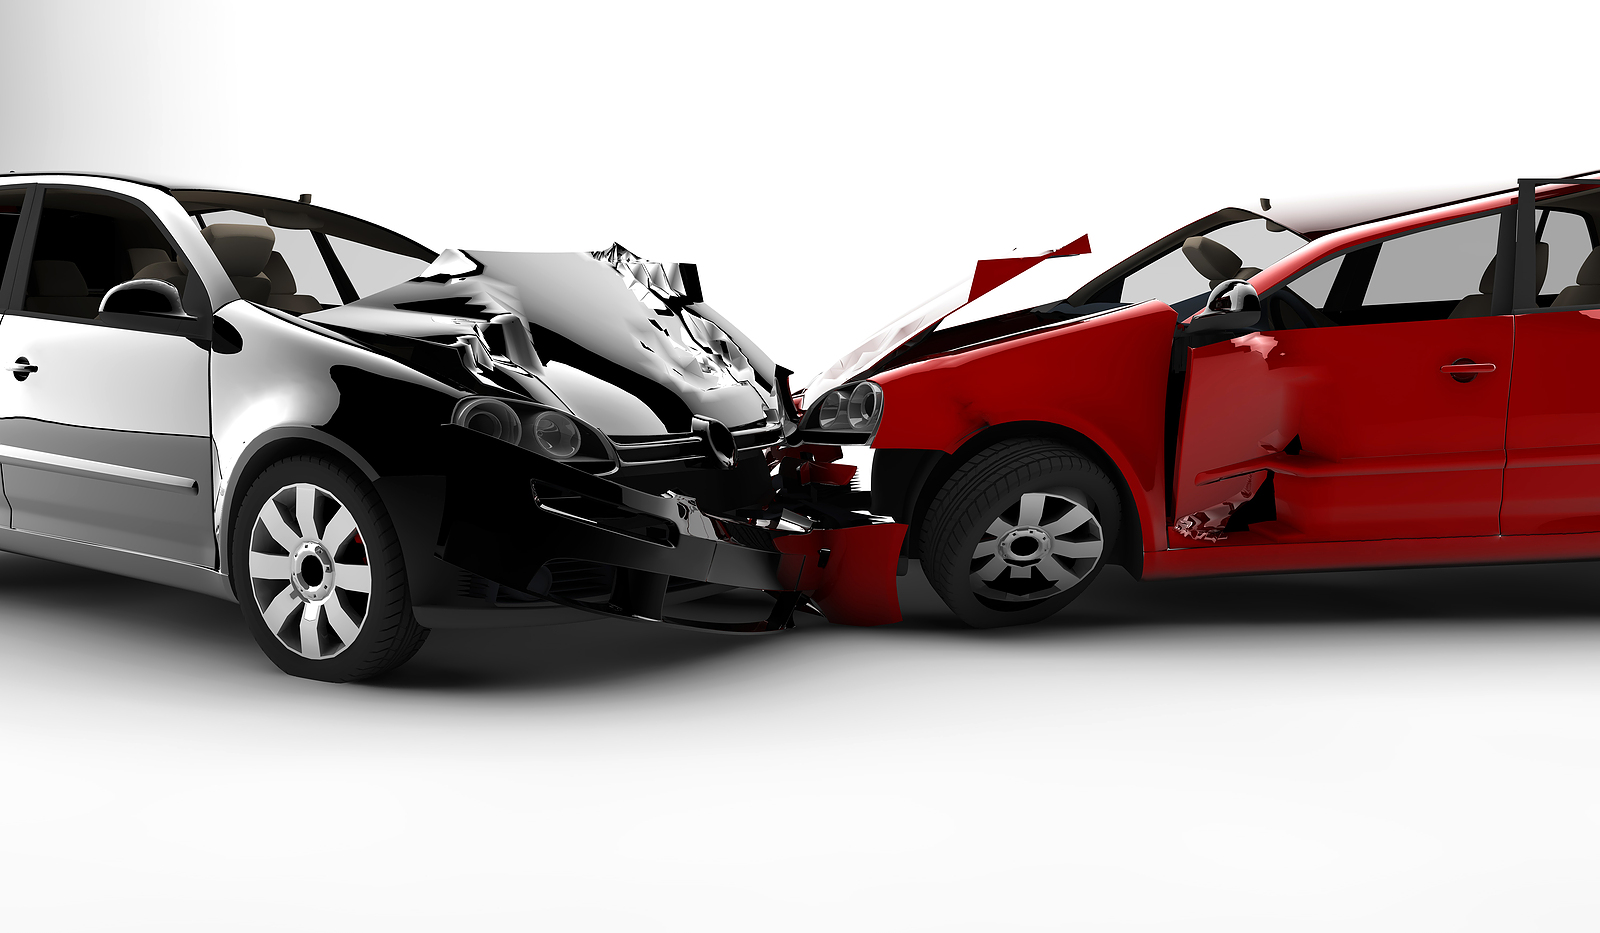
Photo #5: The detailed photo (1 photo)
The detailed photo should include the point of contact, any form of brake marks or skid marks. The focus of the photo should be on the point of impact, making sure the photo is very clear. The depth, length of the dent caused must be visible. Any form of evidence like the brake, skid marks or even mud and grease can give critical insights into the path of the cars leading to the collision and may become vital evidence.
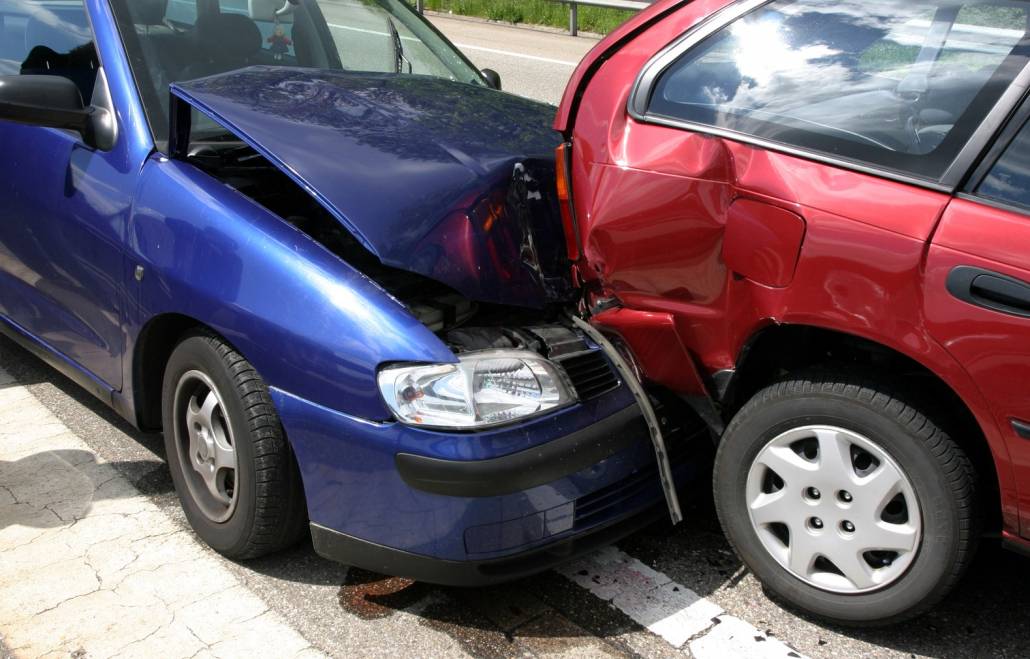
These are the 5 crucial photos to take, but of course, the more the merrier! Just make sure you take photos that will support your case. So remember, the next time you do get into a car accident, don’t forget to stay safe and watch out for traffic while you are doing so!

